
Schulstad Baking Guide
Step-by-Step Process
Step 1: Take out only the quantity needed
Remove from the case the amount of product needed and quickly return the case back to the freezer. Both your freezer and product should remain cold so that the remaining product does not start to thaw.
Keeping the product at a constant temperature will prevent ice / freezer burn from affecting the product, causing a loss of flavor and quality.
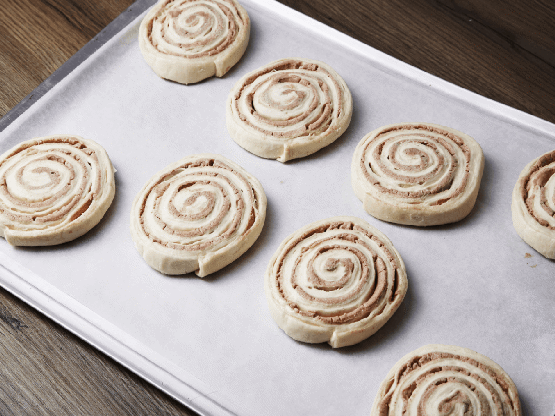
Step 2: Place products on a baking tray
Pastry double in size during the baking process so it is best to leave 1-2 inches in between.
Keeping the product at a constant temperature will prevent ice / freezer burn from affecting the product, causing a loss of flavor and quality.
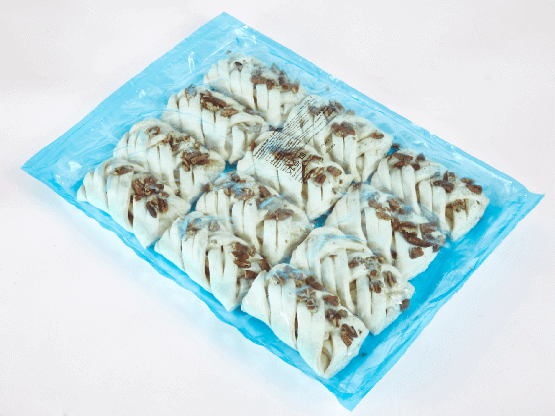
Step 3: Thaw the croissants & bake the Danish
Thaw the croissants for 15-30 minutes, so that they develop a better structure while baking. If you bake them from frozen, their shape and texture will not be the best it can be.
If you thaw them for over 30 minutes, cover with plastic wrap to prevent the surface of the croissants from dehydrating.
There is no need to thaw Danish pastries. They should go straight into the oven while still frozen.

Step 4: Baking pastries
The baking time is more important than the baking temperature. If the temperature is too high, the pastries will burn and will remain raw inside.
Every oven is a little different so a small test bake is always recommended whenever you bring a new item into your kitchen.
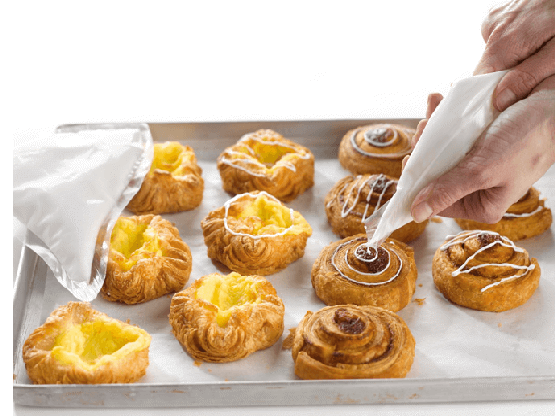
Step 5: Decorate & inspire
Delight your guest and show off!
